
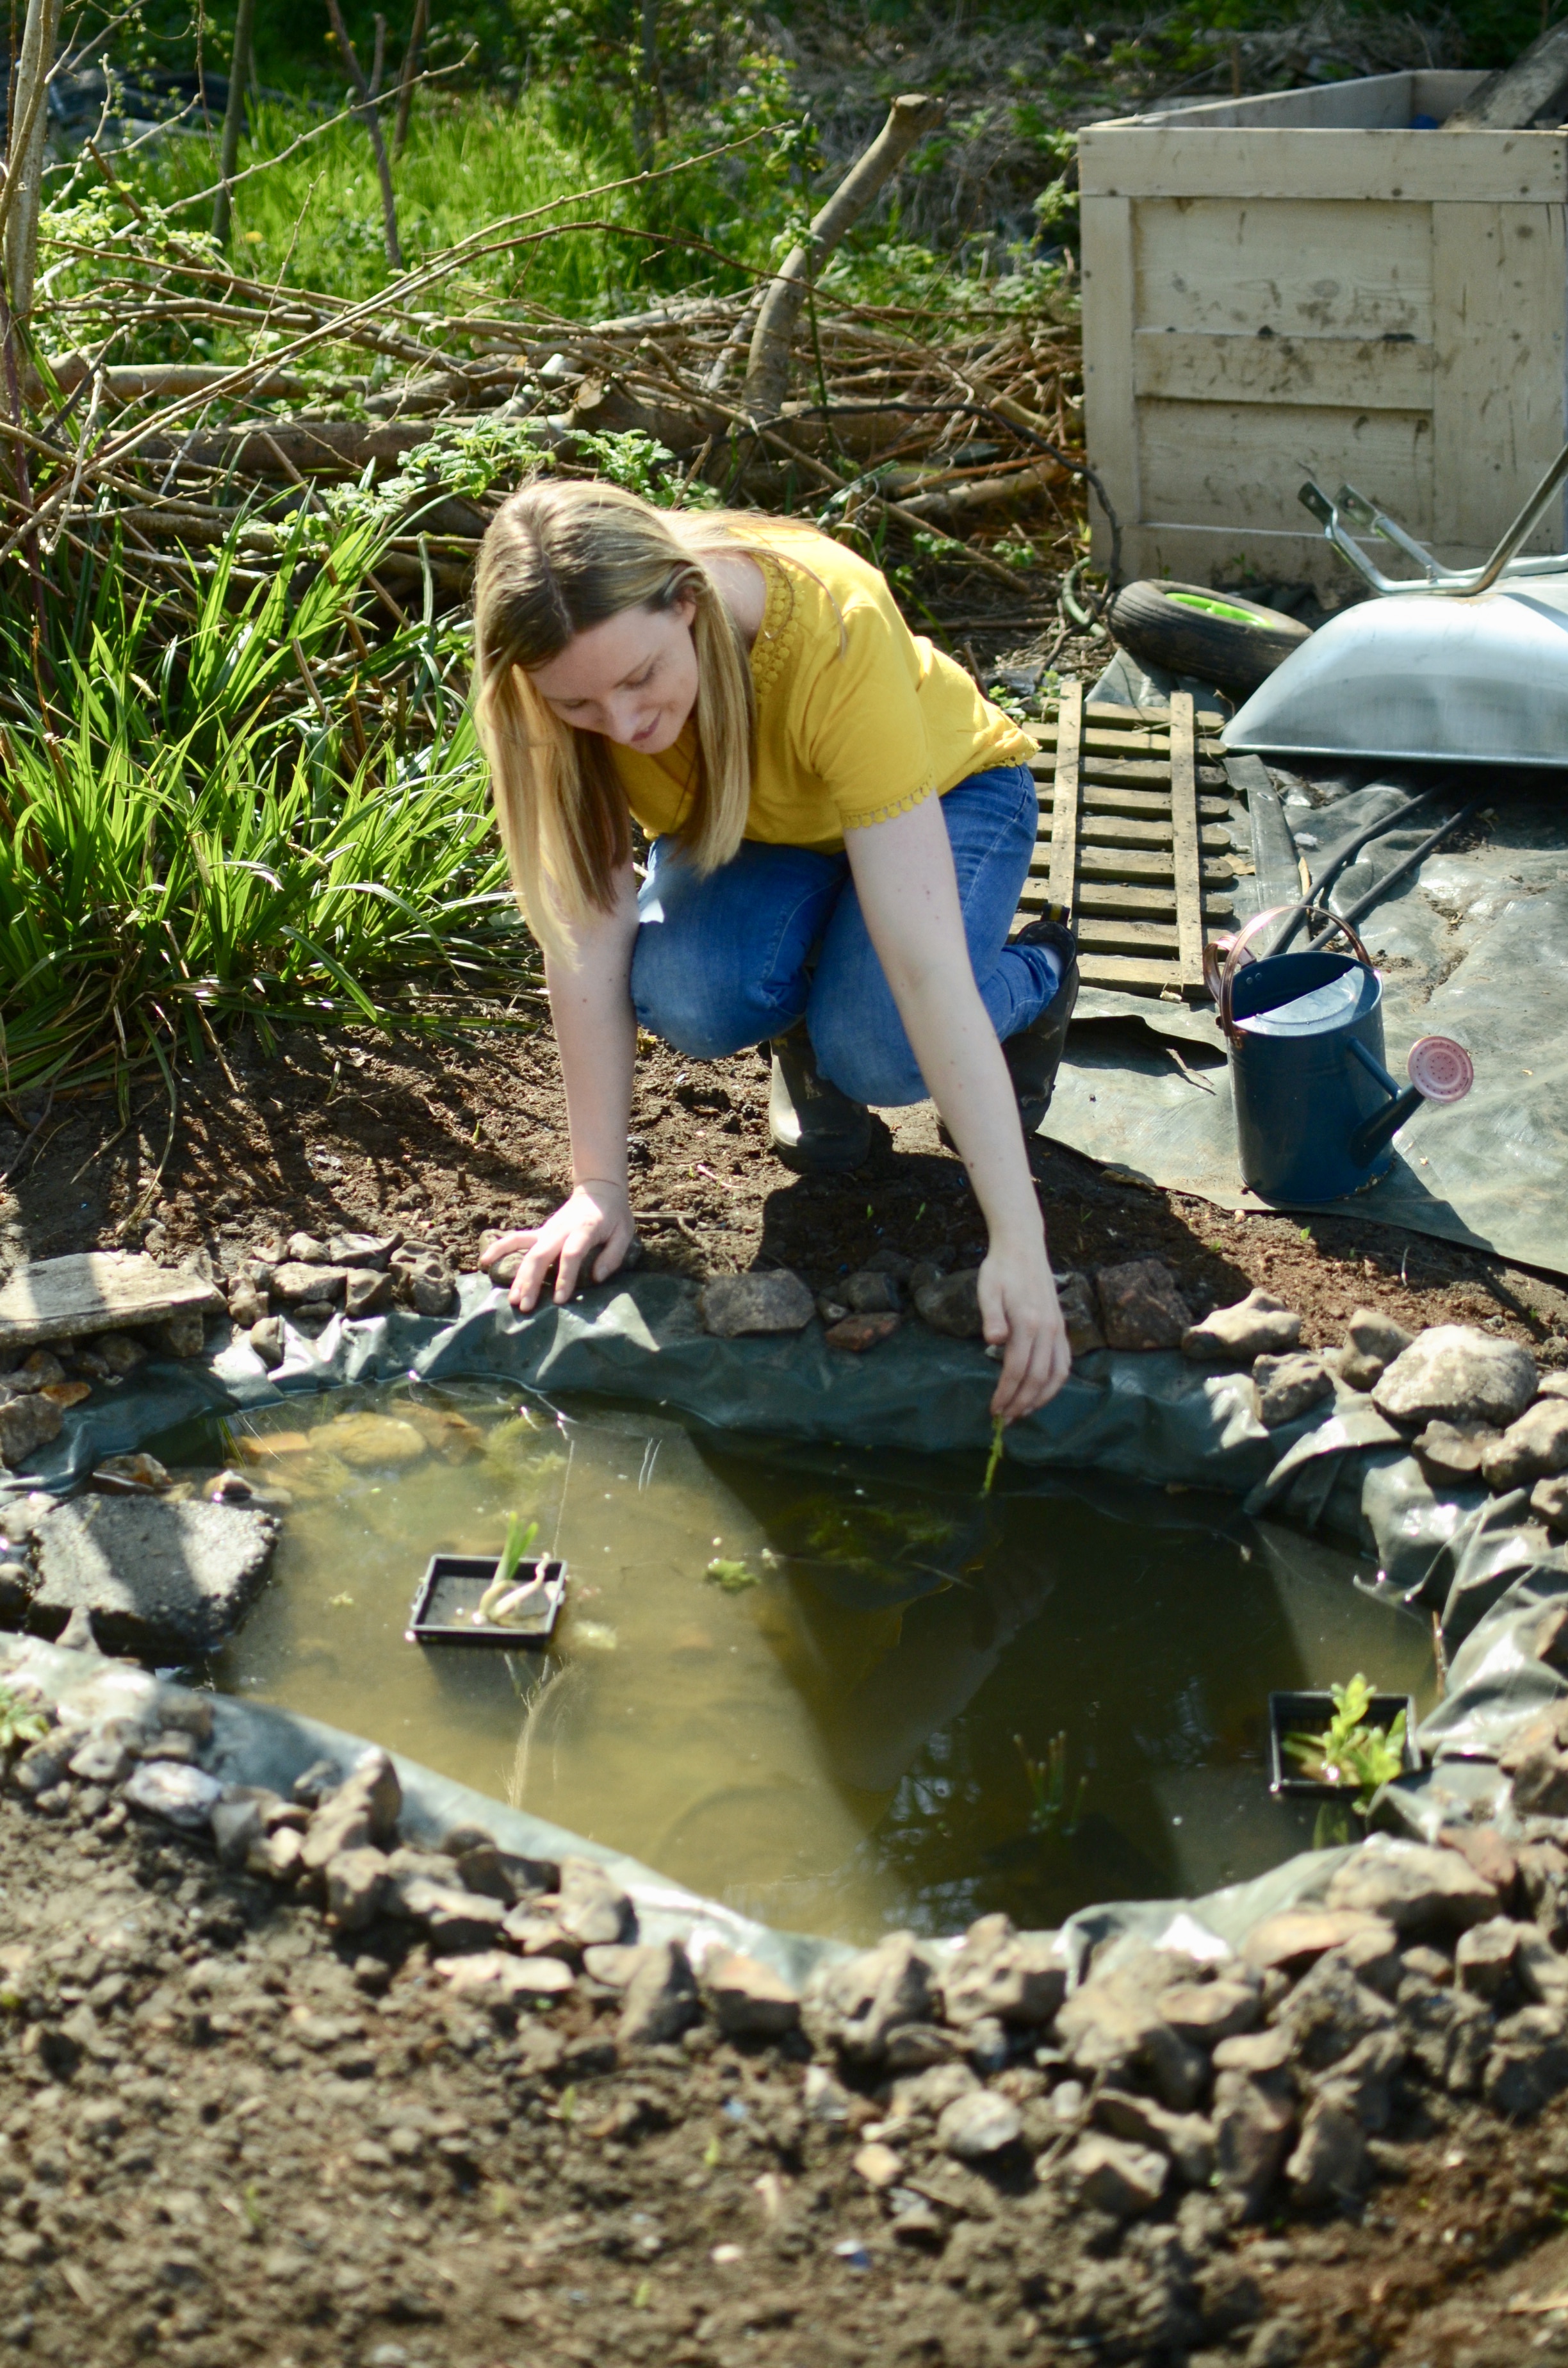
One of the first things I put into my allotment plot was the wildlife pond. Wildlife ponds are a brilliant way of encouraging bio diversity in your garden or allotment plot, and they couldn’t be easier to build. I made mine almost completely for free and now, 3 years on, it pretty much looks after itself. Here’s exactly how I did it.
- PREPARE THE GROUND
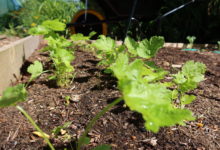
It’s obviously easier to build a pond on a flat surface, so be sure to level out the ground before you start any digging. Removing weeds, in particular any bind weed roots, is also a great idea as once your pond is in, these will be almost impossible to get rid of. Trust me!
2. LOCATION LOCATION LOCATION
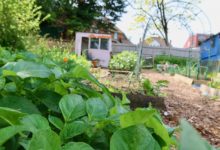
Ponds need sunshine. Sunlight keeps the water clean and healthy and can help stop the formation of pond weed, a slimy plant that takes over ponds smothering all other plants and pond life! So make sure your pond is built in an area that gets a good amount of daily sunshine. If you are making one near a tree, think about adding netting to catch the leaves in the Autumn time. Too many fallen leaves will release nitrogen into your pond, off balancing the nutrients required for a healthy pond.
3. SIZE MATTERS
Big ponds equal more work! Pond maintenance can be so much simpler with a smaller pond. That’s not to say you will be missing out on an abundance of wildlife if your pond is a little on the small side! I’ve made ponds for my kids using old washing up bowls and the creatures we’ve seen flocking to it in the summer is amazing. So don’t think a small pond will mean less wildlife. Where there is water, there is always life!
4. LINER OR CONTAINER?
I went for a pond liner. That meant I could create my own shape for the pond and simply dig it out then lay down the liner. However, my last pond in my old house was made out of an old sandpit tray. This worked just as well and was arguably even easier as I just had to push it into the hole and fill in around the edges. You can even make a pond in a container to sit on your patio, requiring no digging what so ever!
5. SHALLOW END
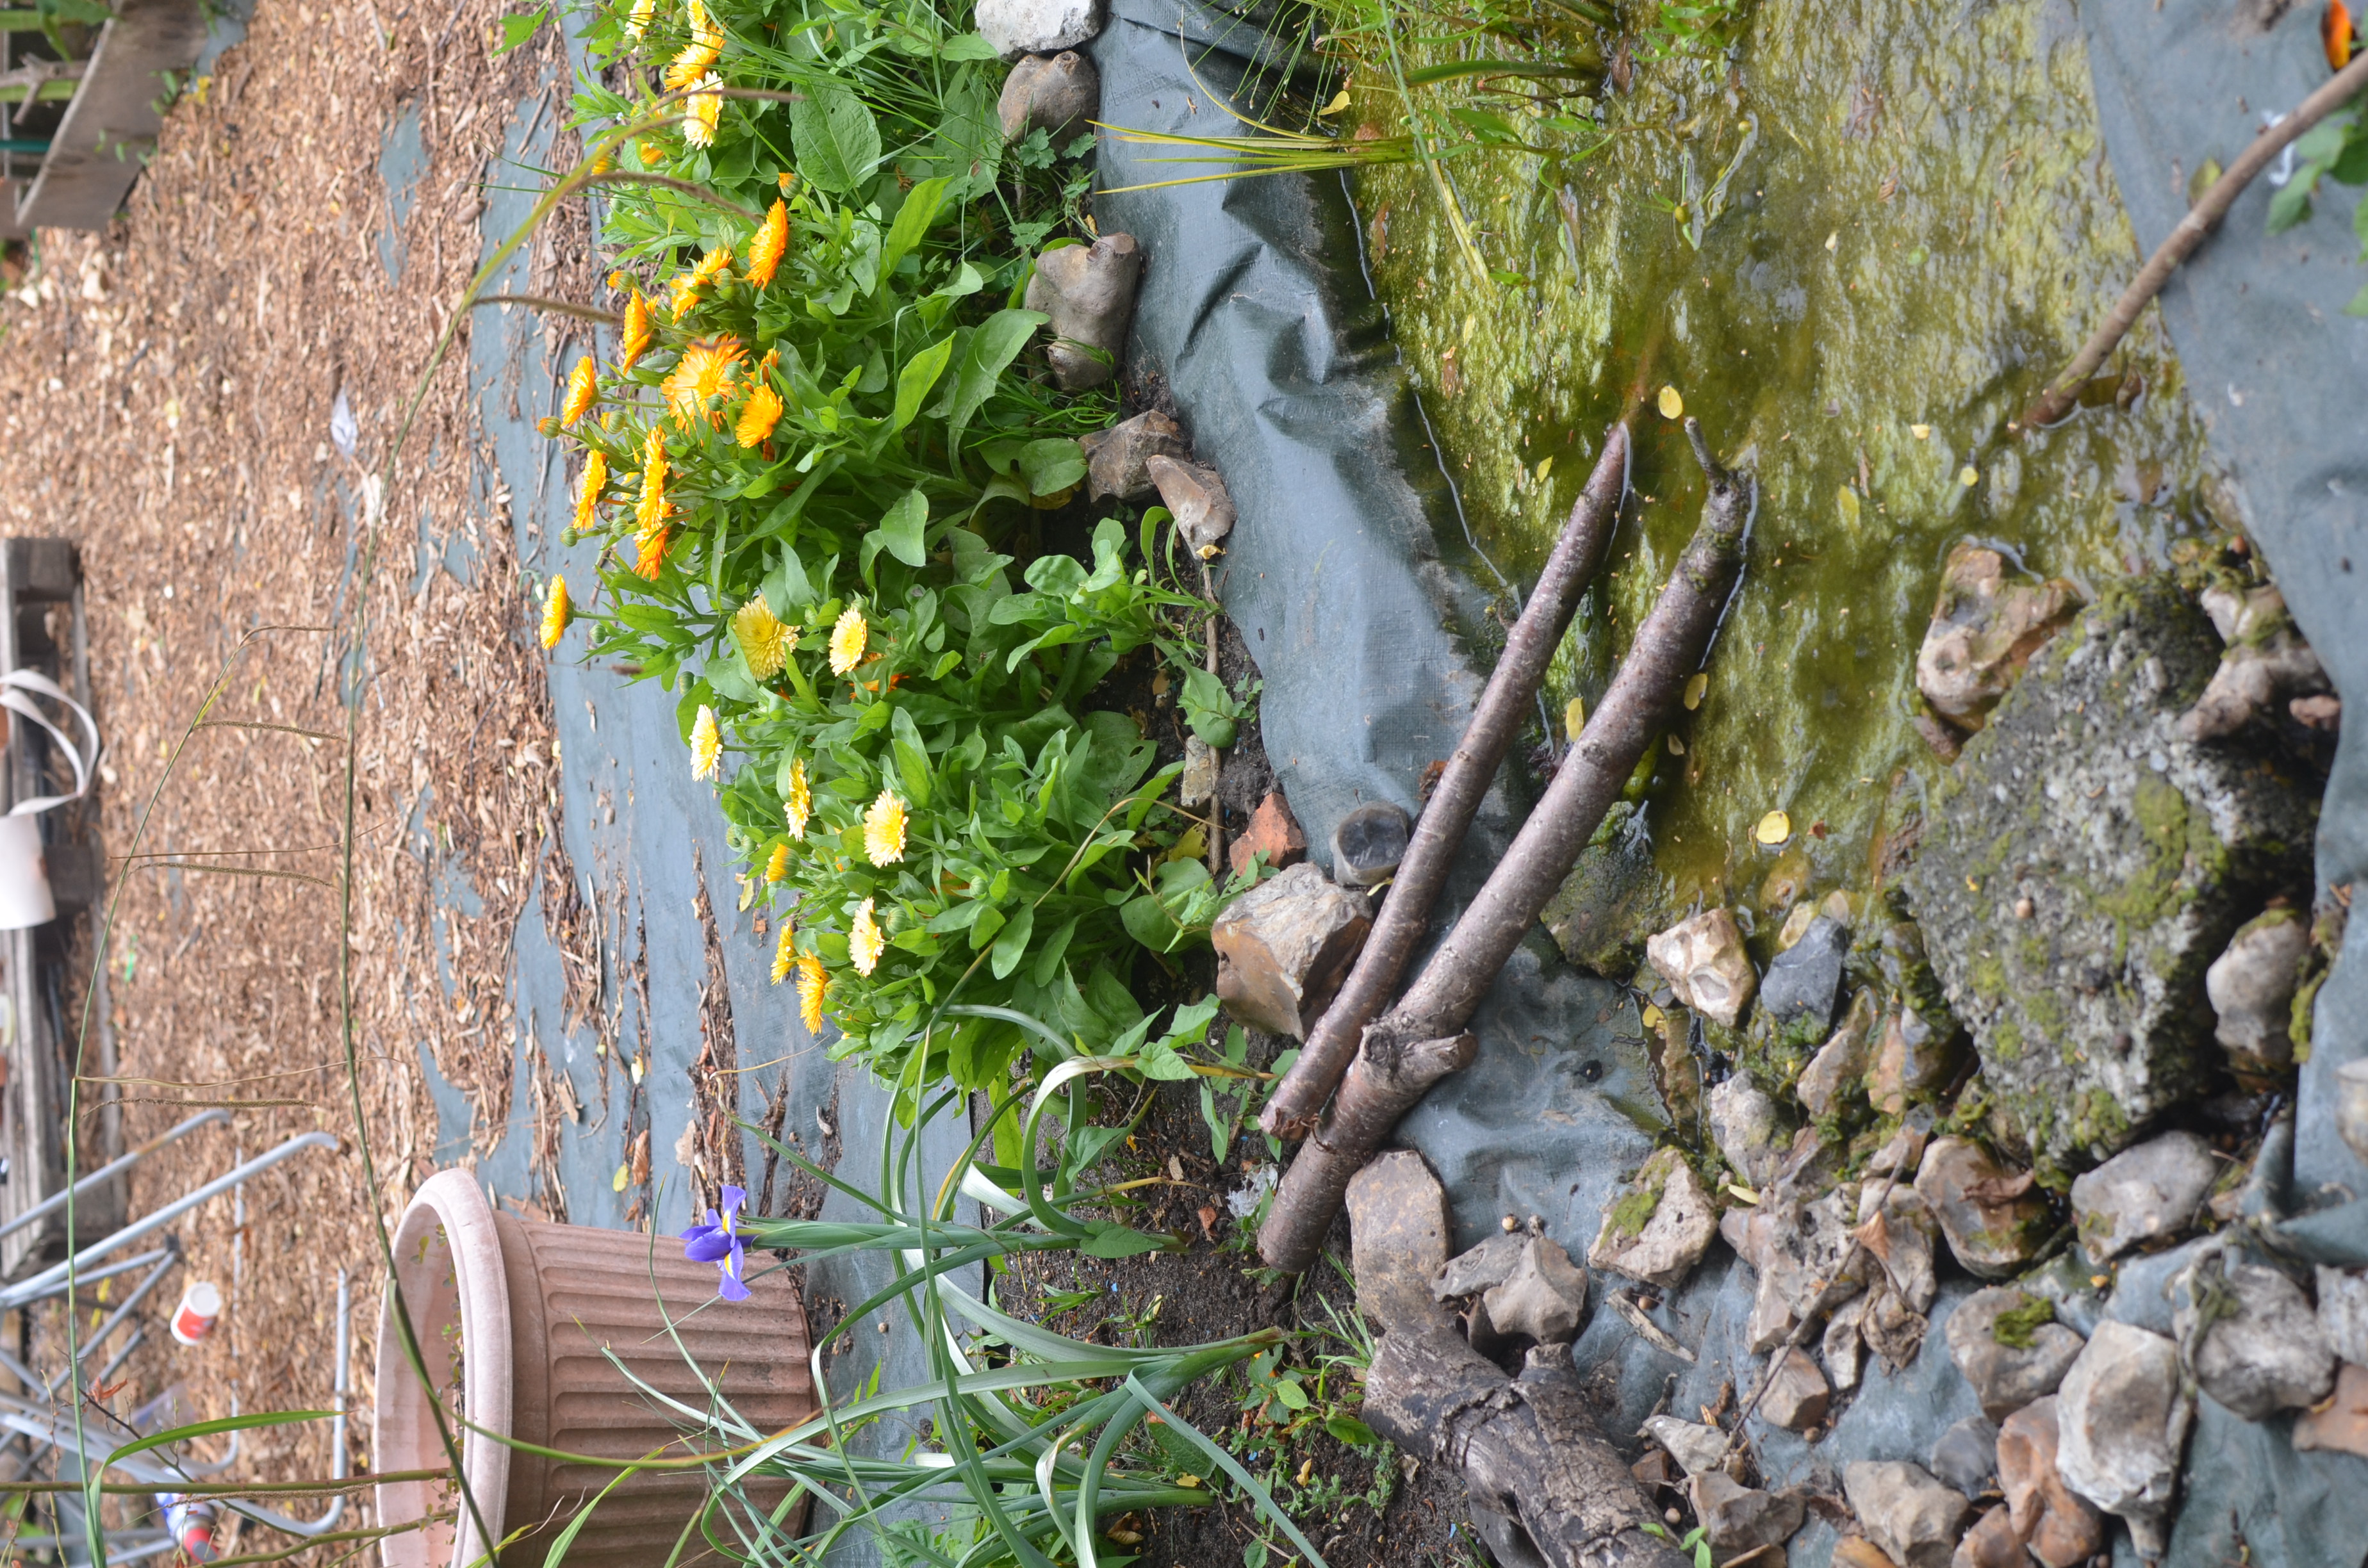
You need a shallow end and a deep end in your pond. The design is up to you. I decided to make my pond on a sort of gradient so it mimicked the ocean and a stony beach. You could have your shallower end around the edge of the pond and dig a deeper hole in the middle too. It’s up to you. what you do need to think about is how insects and small creatures will be able to get out of the pond once they’ve had a drink. So a shallow end is a great idea.
6. RAIN WATER
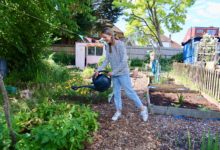
Rain water is best for a pond, for obvious reasons really. Tap water contains chemicals which doesn’t do so well in a pond. There are things you can buy to treat pond water, keeping it clean and healthy. Or you can install a pump and fountain, which will certainly help to keep pond weed away. Using rain water gives your pond the best possible start.
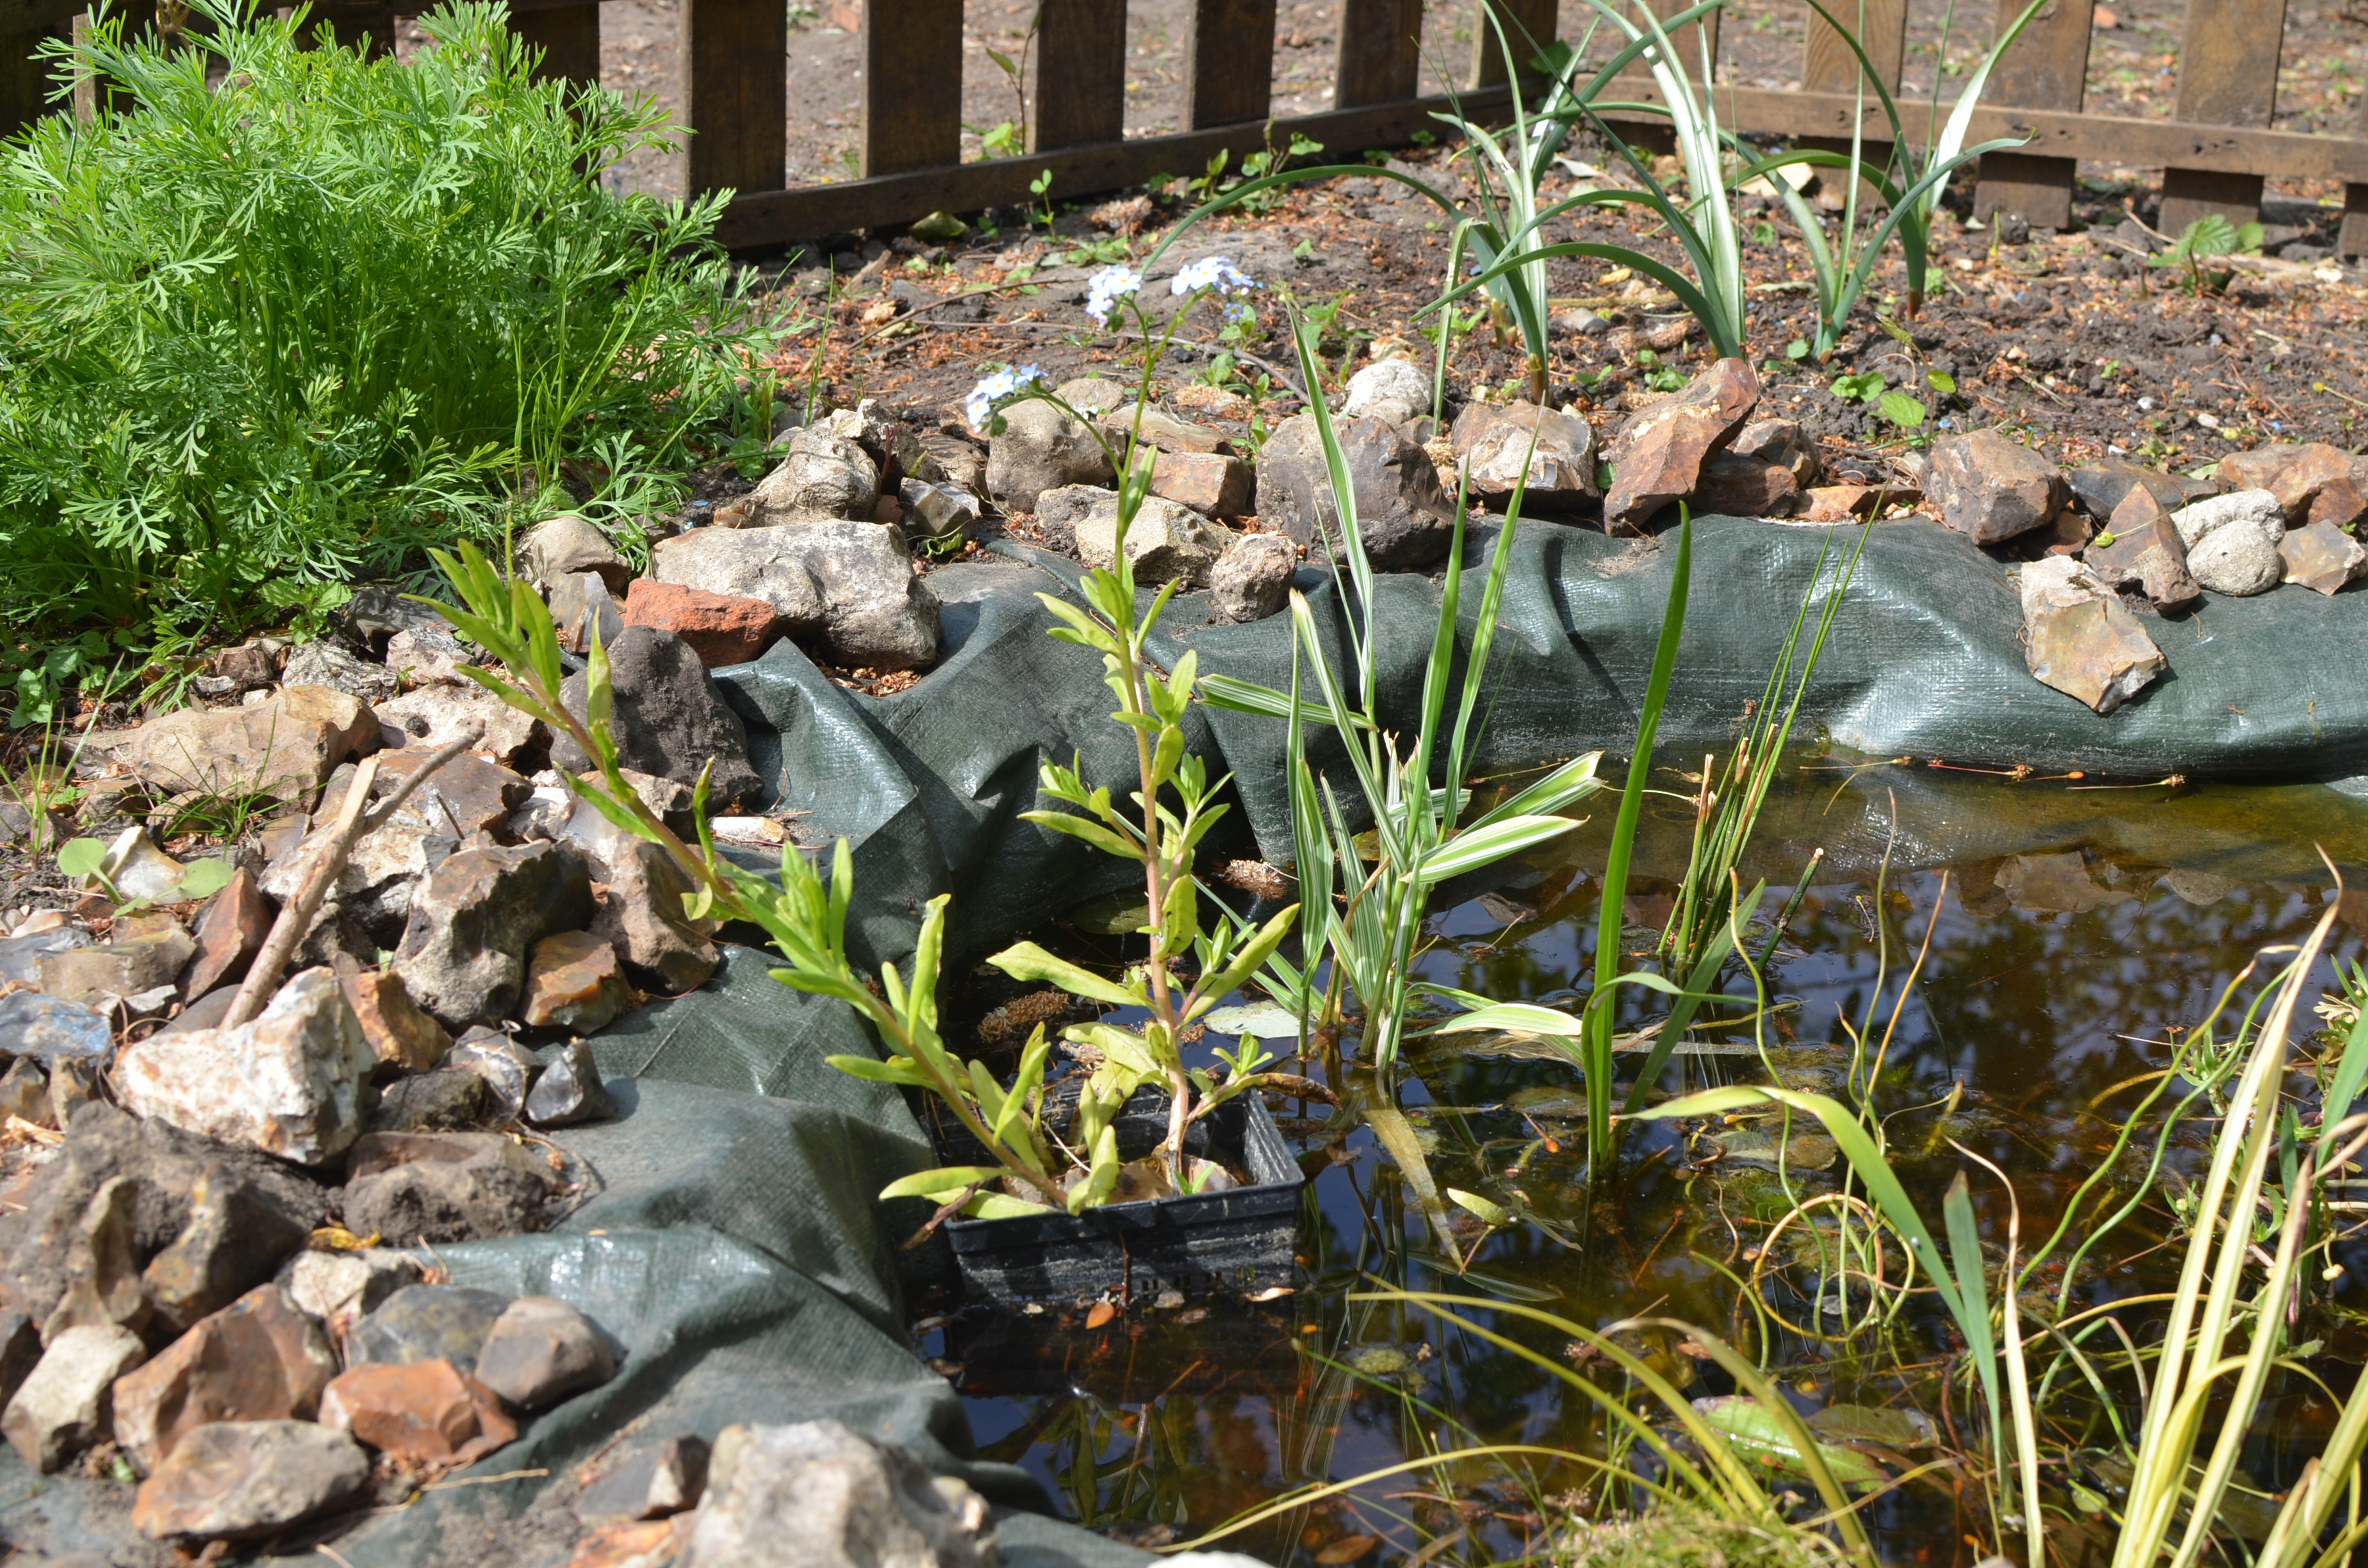
7. PLANT LIFE
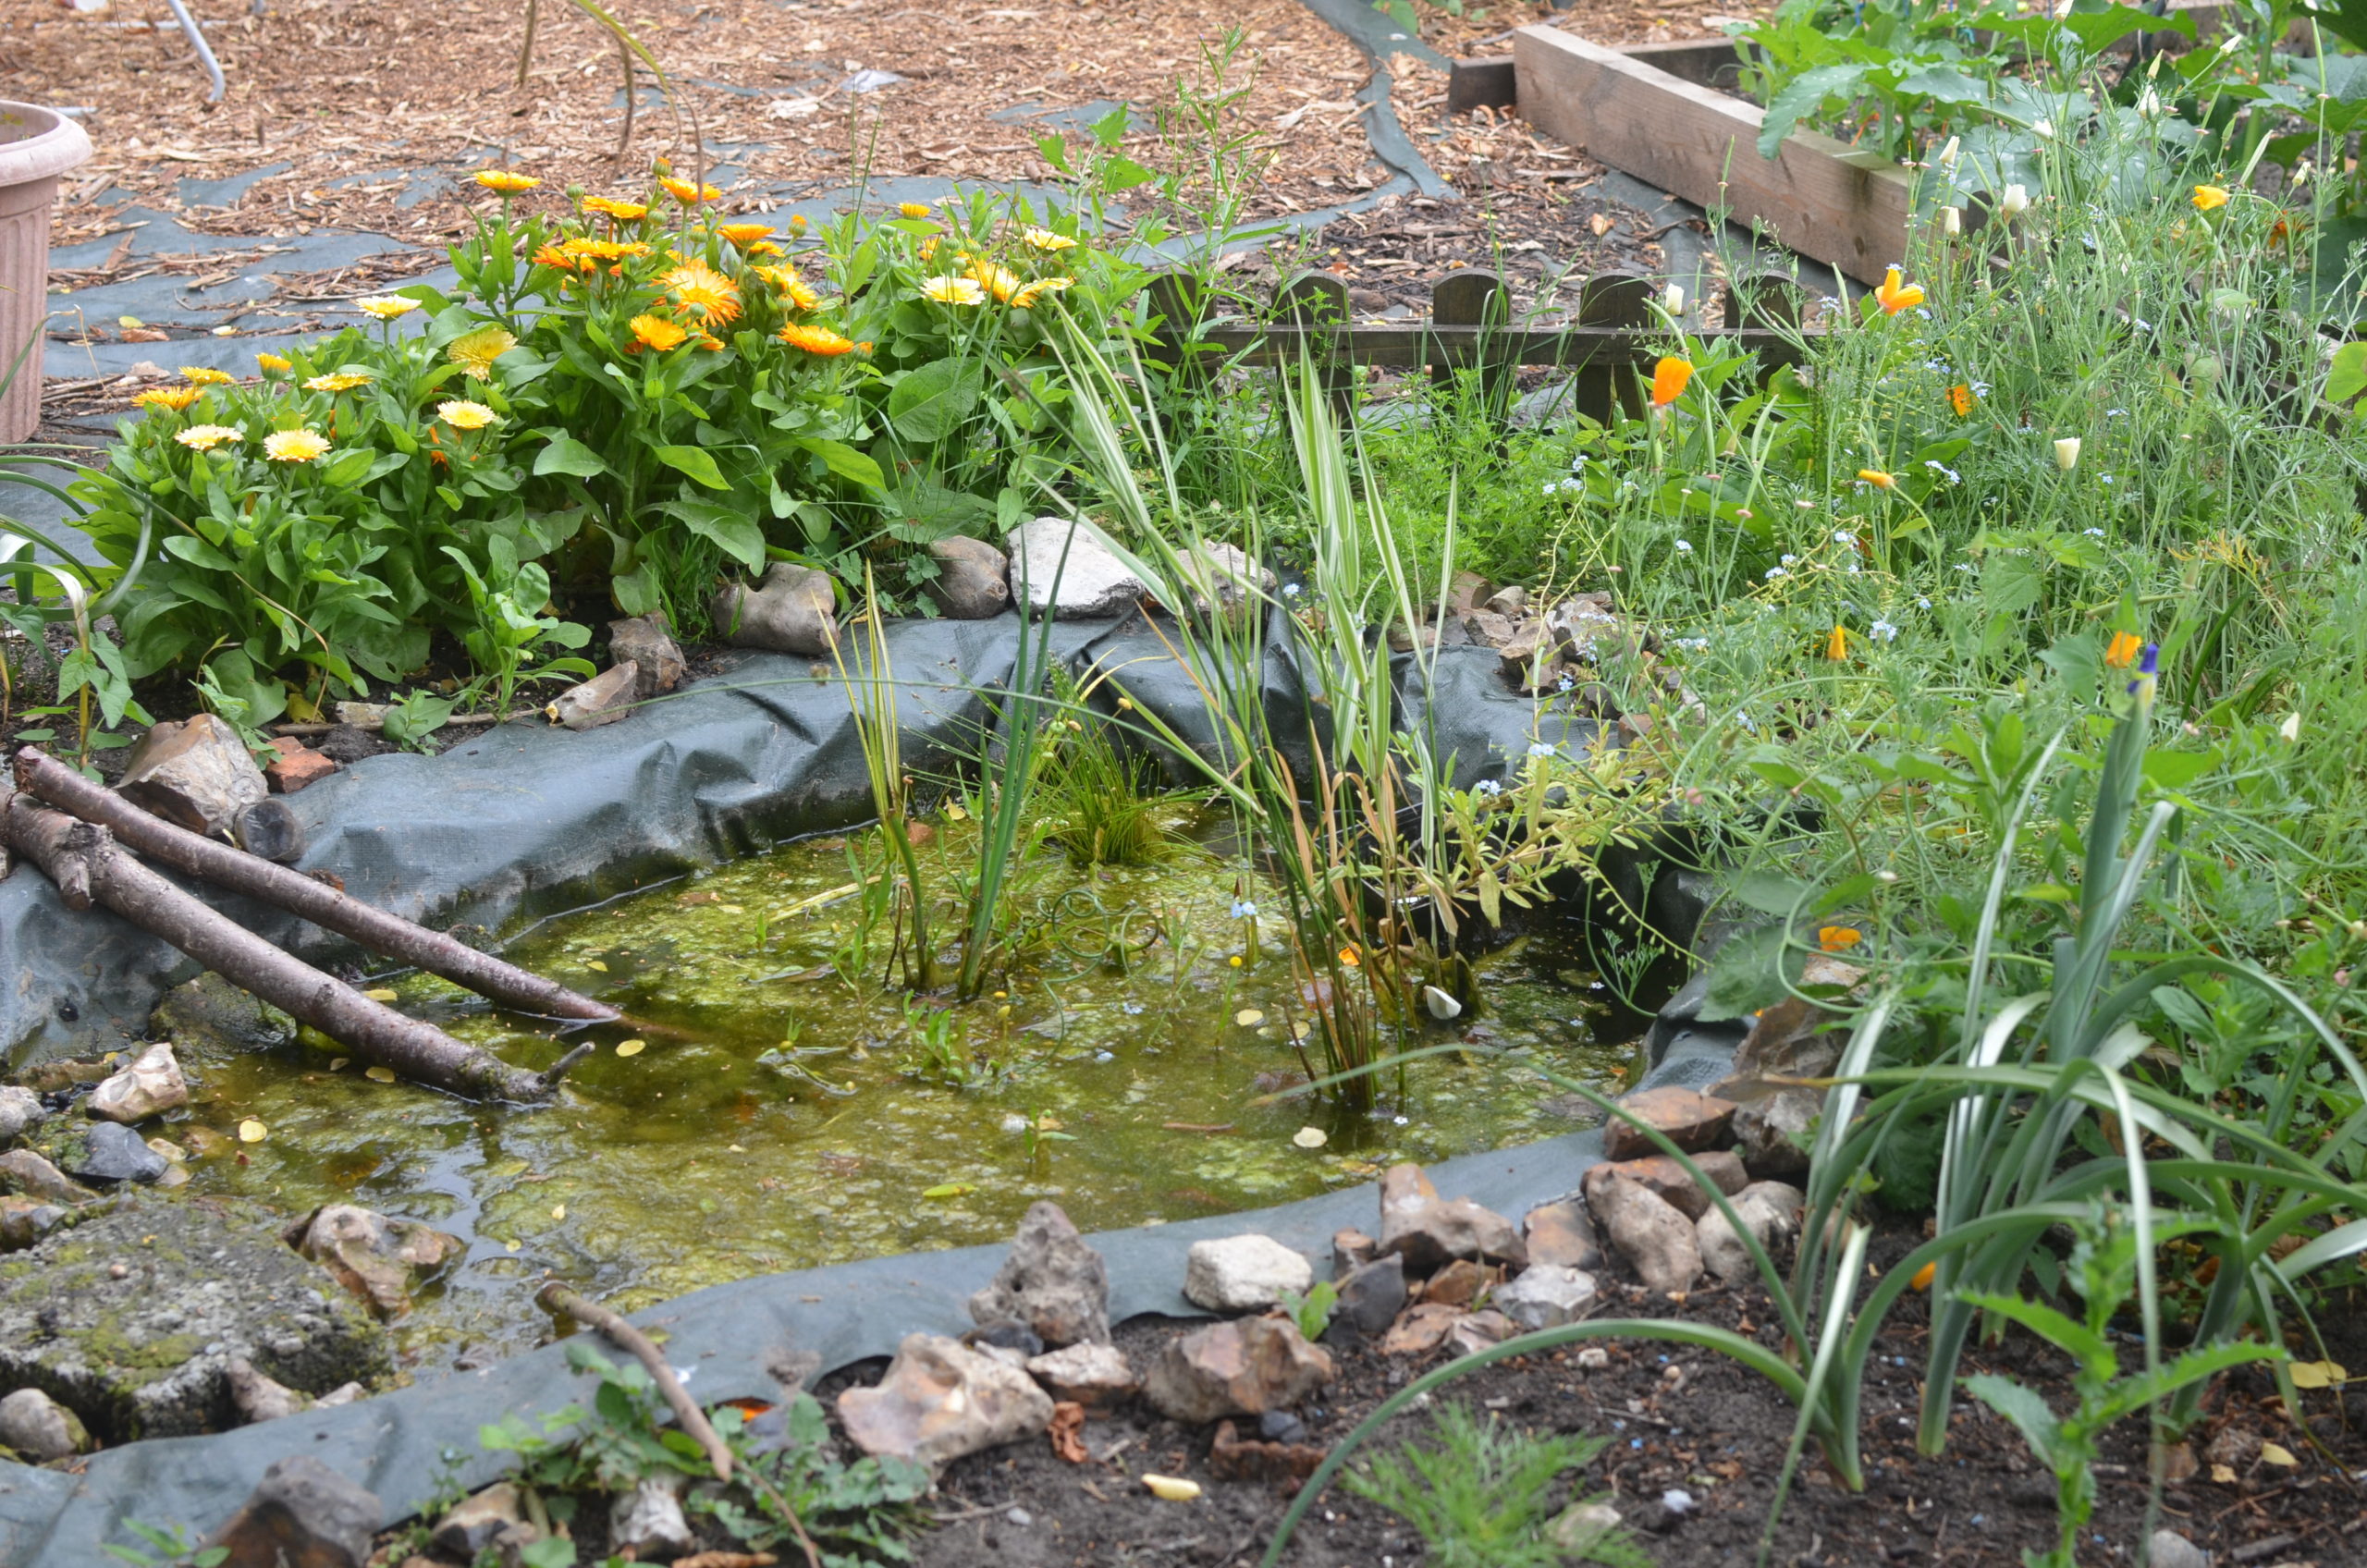
Ponds should be about 60% covered in plants. Plants give creatures a place to hide and shelter, as well as some much needed food. Other plants, like water wisteria, fanwort and red rotala are fantastic oxygenating plants. What the heck does that mean?! Well, these plants release oxygen into your pond, keeping the balance just right and keeping unwanted algae from growing everywhere. They suck out the unwanted nitrates (which can be caused by those damn fallen leaves) and keep your pond from stagnating.
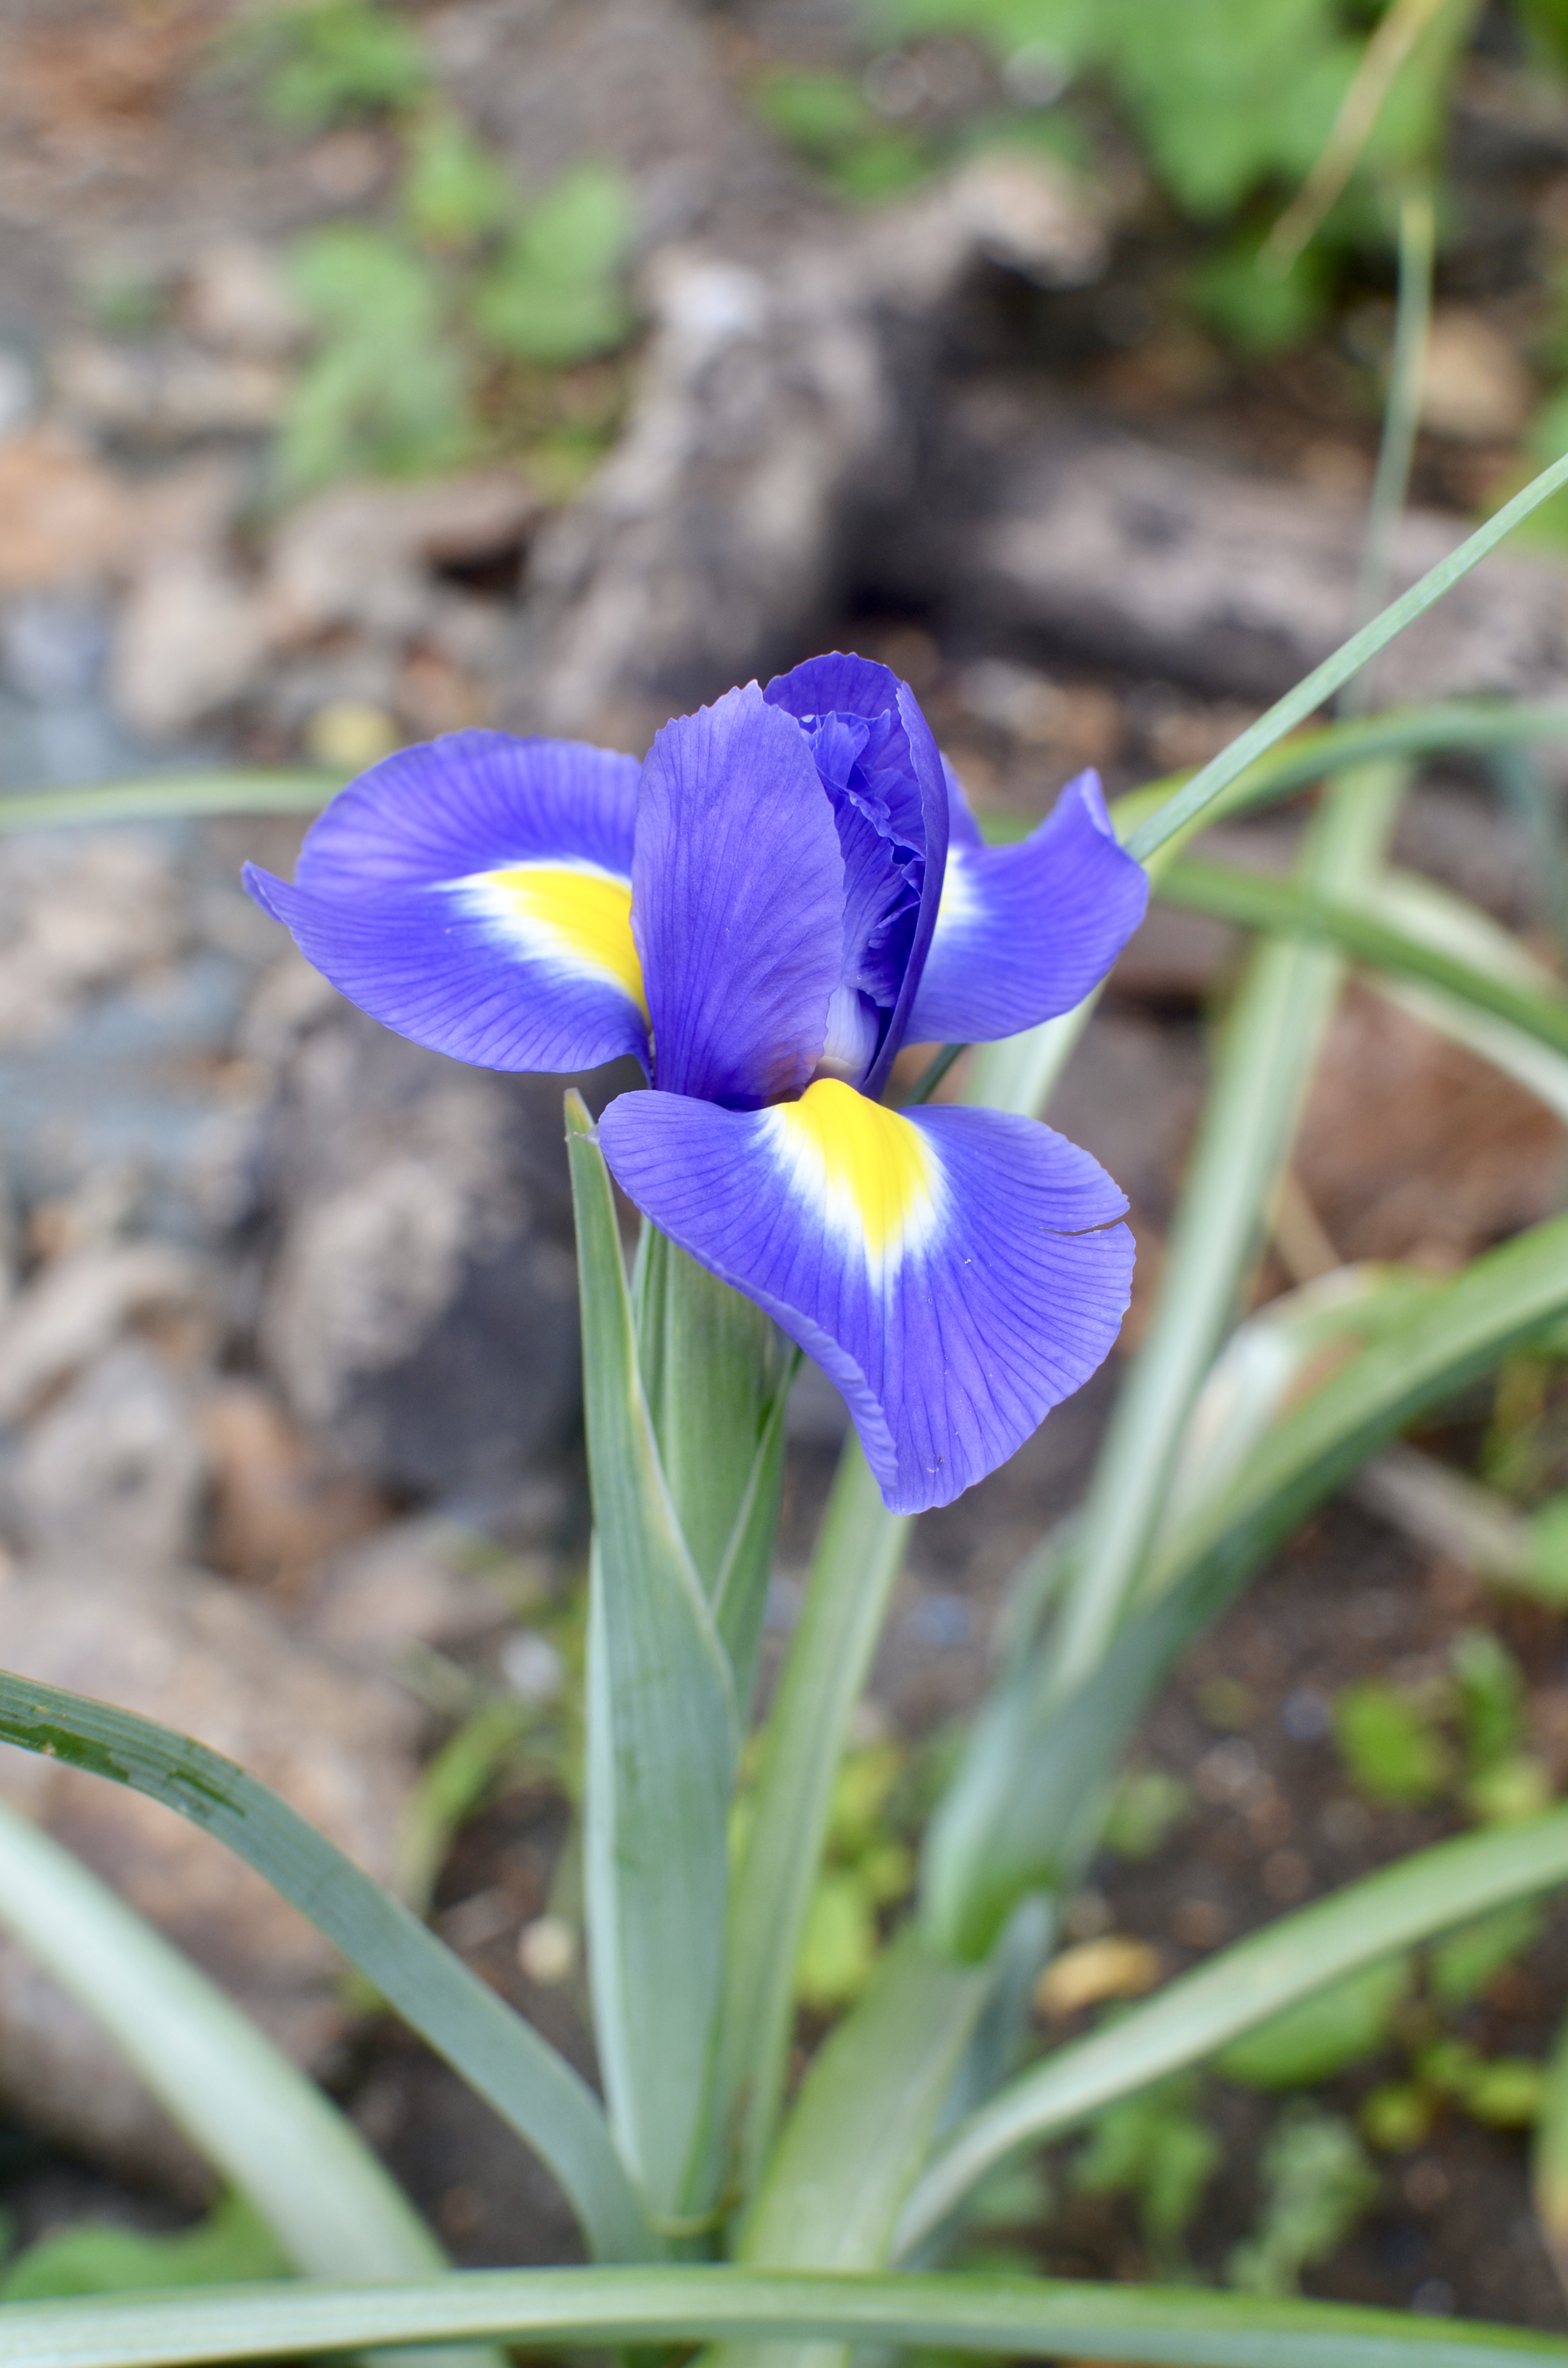
Plant them around the edge of the pond as well as in the actual water. I grow Iris’s around and in my pond and when they come out in the spring time, they make the whole pond look alive and beautiful!
Hope these simple steps help you to create an amazing, but very easy wildlife pond. Don’t forget, frogs and toads LOVE slugs, so a wildlife pond is a great addition to any garden, if only to stop the slugs from eating everything!