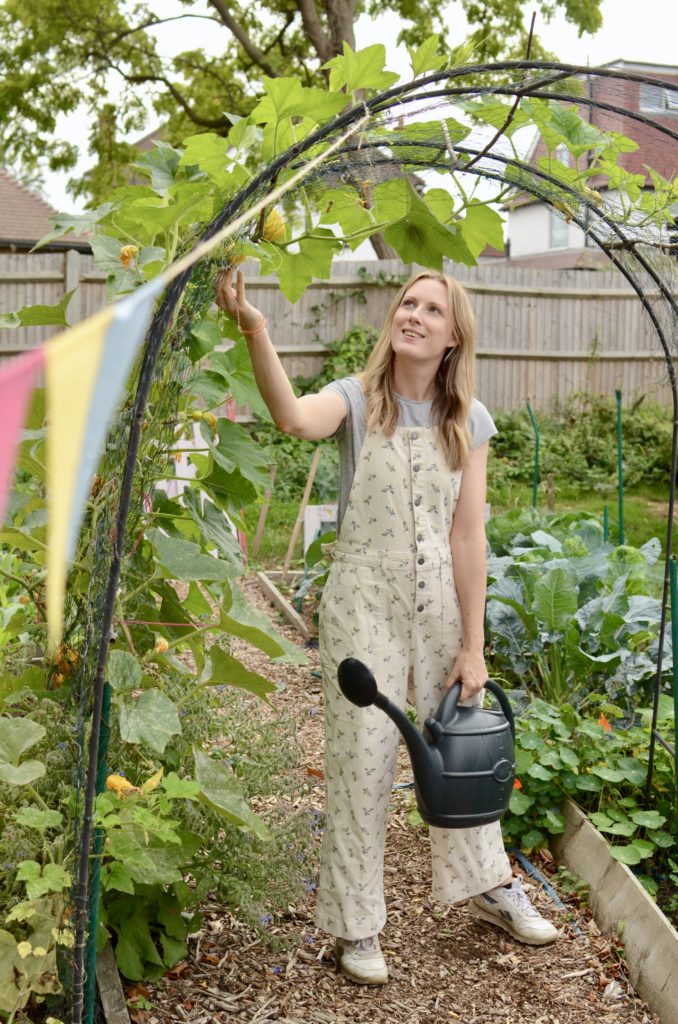

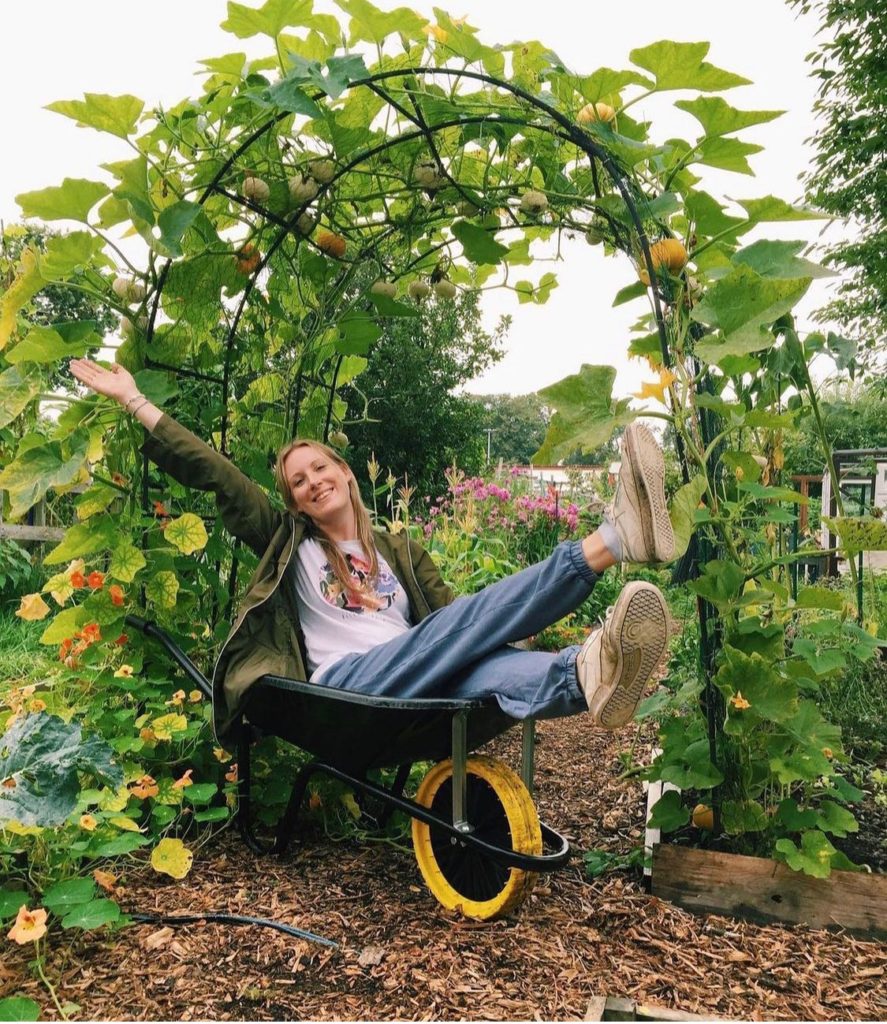
One of the most exciting things I grew in my allotment garden in 2021, was a pumpkin arch. The pumpkin arch turned out to be so magical and such a great space saver in my relatively small patch of land.
I get a lot of questions about how I managed to grow my archway, so I wanted to answer as many of those questions as possible in this post. If I’ve left you with more questions than answers, feel free to leave me a comment below and I’ll answer them directly.
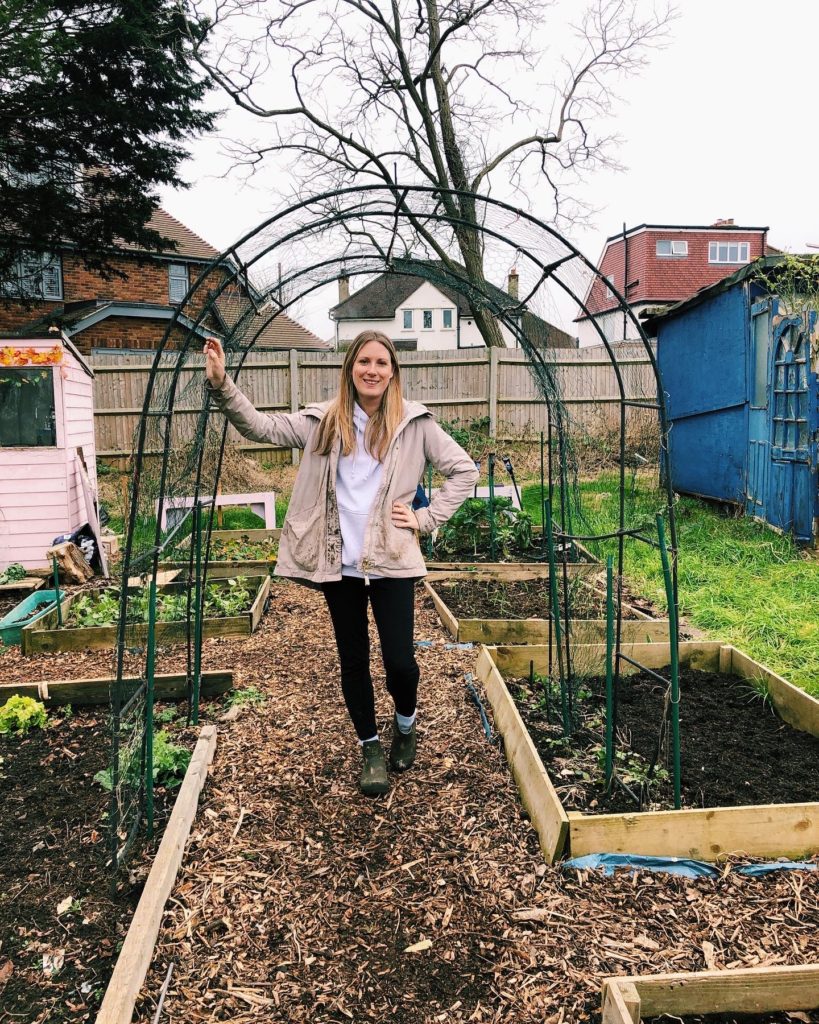
- BUILD THE ARCH
I bought 2 arch’s from Wilkos, costing £10 each. Then, using canes and sticks, I tied the archways together and covered the whole thing in chicken wire.
Chicken wire is so easy and mouldable, it wrapped round the archways easily and provided me with a strong structure for the pumpkins to climb up.
To make sure the archway is as strong as possible and not likely to fall down, I made sure to bury the whole thing up to the first step on the ladder. That way, I could use pegs and bricks to hold it in place, as well as the weight of the soil. I also dug poles deep into the ground right next to it and tied in place. It’s a bit like when you put your poly tunnel up. You could even try bungee cords, tying them to the top of the arch and securing in place with a peg in the ground.
However, once the plants took hold of the structure, I found their roots really helped to keep the structure upright anyway.
2. WHAT VARIETIES TO GROW ‘UP’?
All pumpkins want to cling onto something, no matter their size. I know this because even when I tried to grow giant halloween pumpkins up an archway, they still produced tendrils that stretched out for something to wrap around.
Of course, giant pumpkins aren’t really the best thing to grow ‘up’ and mine often snapped before they were ready as well as threatened to take the entire arch down with the weight!
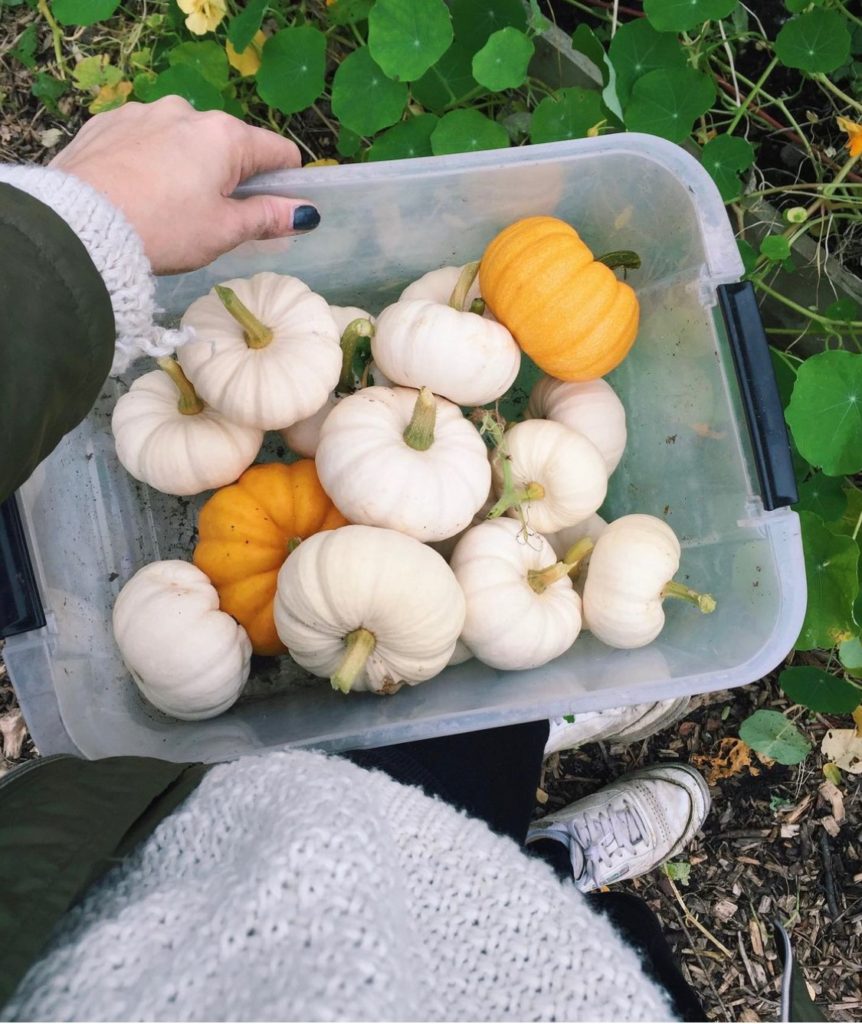
Choose smaller varieties of squash. I grew BABY BOO and JACK BE LITTLE last year. This year, I’m adding PATTY PAN and UCHIKI KURI to my arch as well, to see how they do.
Basically, the smaller, the better!
Also, lots of courgettes like to grow and you can get some really whacky, tasty varieties of them. So why not give some of those a go up an archway too?!
3. PROBLEMS
Yes, there were problems, and I’ll do my best to remember them and list them below so you can possibly avoid them!
MILDEW
This is actually a problem with any squash you grow, and other plants too. it’s a white powdery fungal disease that spreads from leaf to leaf, eventually killing the plant.
When growing up an arch way, you’re likely to get it because the plants are so close together. Regular culling of any damaged leaves and removing finished plants quickly can help to get more air supply around the plants, making it mildew less likely.
You can also make up a spray of bicarbonate of soda and washing up liquid for the leaves, to help combat the infection. However, in my opinion this is pretty pointless and will probably end up burning your leaves anyway!
SLUGS
Slugs love young pumpkin plants, so early protection is the best possible thing you can do. Plant them out once they have a few leaves so they are stronger and then protect by any means you deem necessary (I’m a fan of egg shells and beer traps).
Slugs can climb and may climb up to your hanging pumpkins if they get super hungry. I combat this by companion planting some nasturtiums and sacrificial lettuce under the pumpkins to keep them busy and less likely to climb!
SLOW GROWTH
Pumpkins, even the small varieties, are hungry plants. So they need lots of watering and a good feed every couple of weeks or so. I use a liquid seaweed for mine and feed them the day they go in, then every couple of weeks after.
4. READY TO HARVEST?
If you’ve started your pumpkin plants in about March (inside in pots), then you should expect to be planting out in May. Then harvest time should appear somewhere around late September/early October.
How do you know if they are ready?
Well, the leaves will start to suddenly die. I don’t just mean go a little brown, they will completely discolour and crumple up like old newspaper. The pumpkins, however, will go bright orange (or white or blue depending on variety) and look really happy and healthy.
Another way to tell if they are ready to harvest, is by pressing your nail into the skin. A pumpkin that is ready to pick should leave barely any mark in its skin.
When you harvest them, cut them so they still have a little of the stalk on the top. This will stop them from rotting. Take them home and put them on a window sill in the sun for a few days to finish hardening up. Then store them in a cool, dark place until ready to eat!
Good luck with you pumpkin archways and don’t forget to leave me a comment with any questions you might have! Also, come and follow me on instagram where I am doing a grow-along this year!